30 December 2012

Wooden Puzzle Blocks

My last Christmas project finally done.  It was easy to put together and has already provided a ton of fun for K!  Six different puzzles from one package of blocks.


Items needed:
Pkg of 1-inch wood blocks from Hobby Lobby. 
Mod Podge Matte finish
sponge brush
paper cutter
book of choice

I purchased a Golden Book of The Night Before Christmas and picked out the 6 pages I wanted to use for each side of the blocks. 


I cut the picture down to a 4-inch square and then cut into 4 rows of 1-inch wide.

I laid out 3 blocks on the top of my 1" x 4" strip of paper and using a pencil made lines where each block was and cut on the lines in order to get four 1-inch squares.

Using my sponge brush I applied mod podge to a block and pressed a square onto the block surface.


I worked left to right and then started a new row until reaching the fourth row.


I let glue dry for a few minutes then used my zacto blade to trim any excess paper off my block so no edges stuck out past the wooden block.


Apply a top coat of glue to surface of block and once dry keep applying new pictures onto the blank areas of your blocks.


I always rotated my blocks in the same direction when getting ready to apply a new scene on the blocks.  Of course you don't have to this, I just wanted my blocks to be orientated the same all way around.


I liked how it turned out and think it will be a nice holiday edition to bring out each Christmas, especially since this was the book I remember as a child.


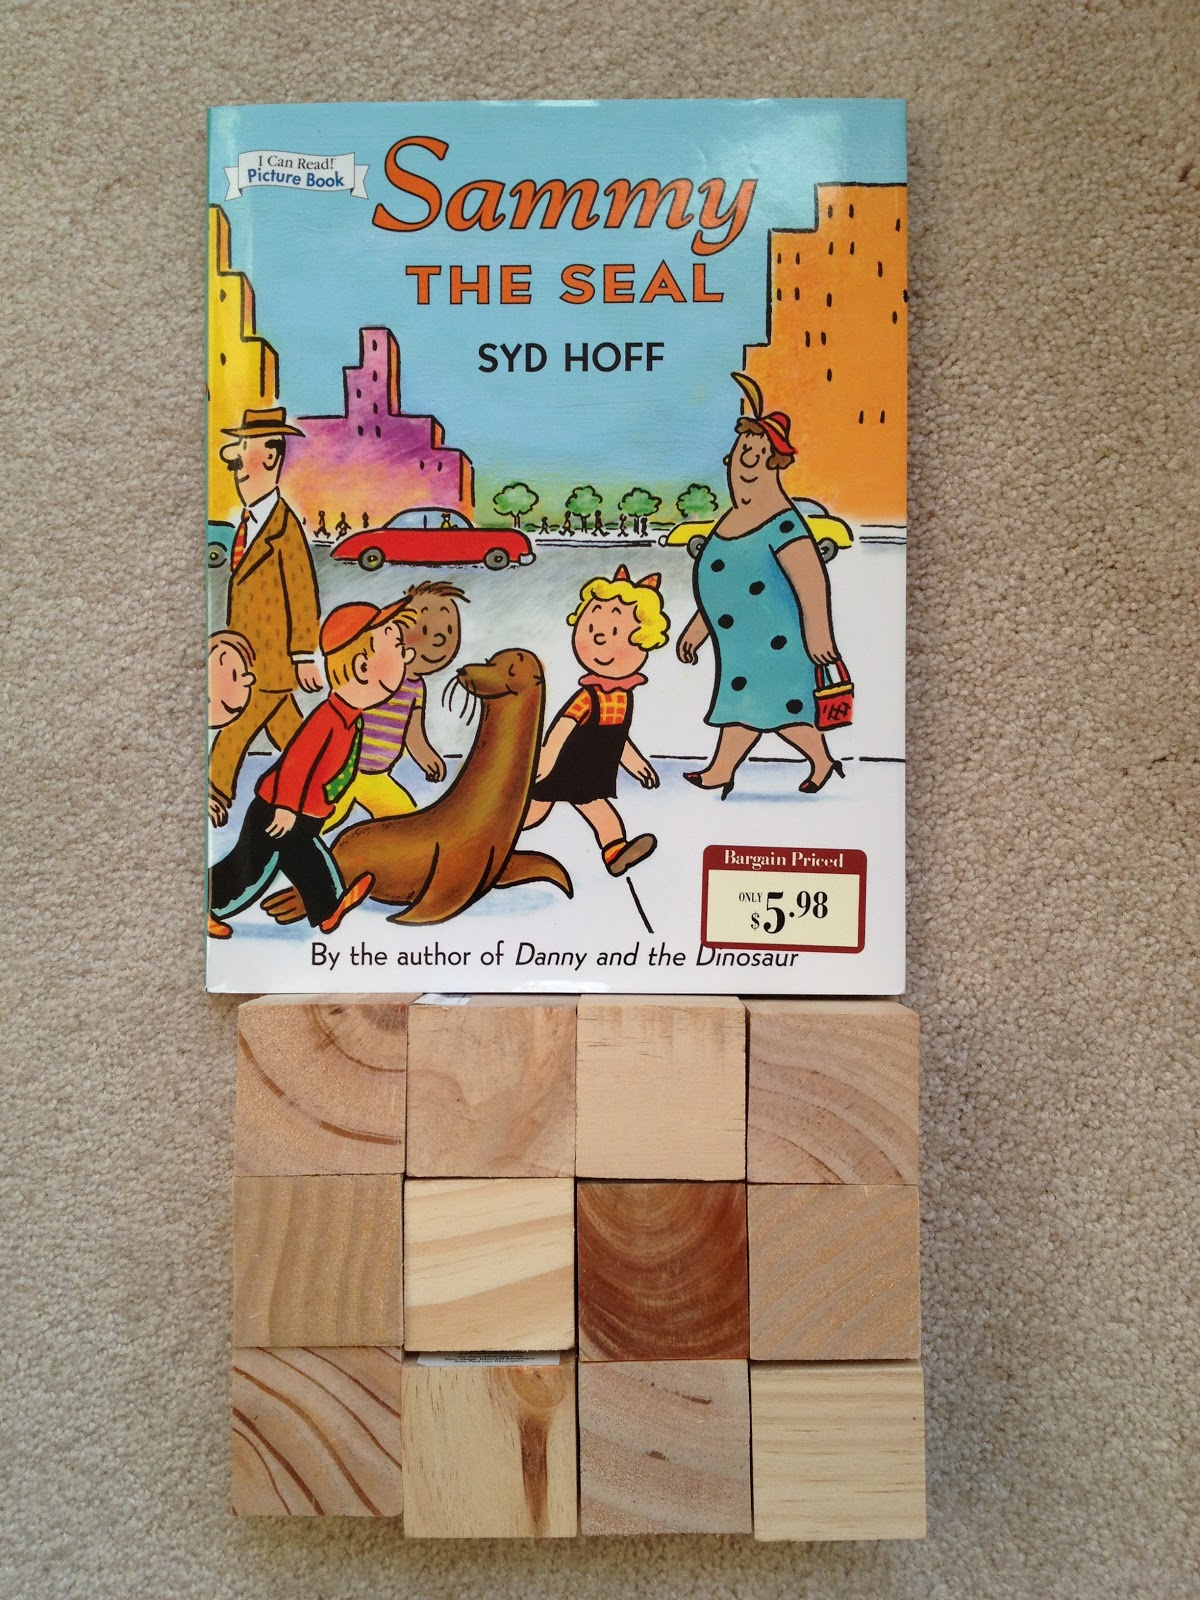
I have also started a large block puzzle of one of my favorite childhood books that I found in color.  I am using 2-inch blocks for this next project.  I bought these blocks from Hobby Lobby also.


Happy New Year!


16 December 2012

Fox Scarf

I had to make this one right away!  Love it.  There is a great tutorial over at Prudent Baby.  So I'm just going to share a few photos.

I'm much to impatient to drive all over looking for plaid flannel so I bought mine here.

I bought a yard and it was enough for 3 scarfs, if you are prudent with the pattern placement.

I also bought the minky fabric at  Fabric.com.


Love it.  Will surely bring a chuckle.

12 December 2012

Ornament Ice Skater

I loved this ornament the moment I saw it over at Creative Breathing

Such a cute addition for our tree. 

I was having a hard time printing out her pattern so I pretty much free handed my items.


Easy to put together:
6 inch white pipe cleaner, plus extra for ear muffs
Silver pipe cleaner
Wooden bead 3/4 inch
White thread for hanging and boot laces
Red wool felt
2 pom-poms
Hot glue gun


After bending the pipe cleaner in half, add a hanging string.  Bend some small feet.  Feed thread and pipe cleaner through bead hole.  Paint the face & hair onto the wooden bead.


I used a 3 1/2 inch circle template to cut out a felt circle.  Then using my pinking shears I trimmed it down a little more.  Then cut out a small pie wedge in order to wrap around your pipe cleaner body.

I drew the skate boots, gloves and arms onto freezer paper and ironed onto my felt.  I cut out the scarves to be 1/2 inch wide by about 5 inches long. 


I hot glued the dress tightly around the pipe cleaner, just under the wooden bead.

Then added a drop of hot glue to attach gloves to the arms.  Then attached to top of dress.

Wrapped the scarf around the neck and hot glued into place.  I then trimmed off excess and cut fringes onto end of scarf.


Formed almost a semi circle with pipe cleaner onto the top of head and cut to proper length.  Leaving space to add the pom poms under neath the pipe cleaner.  Hot glue the pipe cleaner onto top of head.

Before hot gluing the pom poms to the head trim off a small section in order to have a flat surface to glue.

Glue on boots and thread the string to mimic boot laces and tie into a bow.

Cut a small piece of silver pipe cleaner and glue to bottom of boot.


I like how her back leg is kicked up like she is skating!

I will trim the width of the neck scarf for my next one and shorten her arms a wee bit.  Poor thing is looking like Stretch Armstrong right now.   But over all I think she turned out okay and looks nice on the Christmas tree.


Merry Christmas!

UPDATE:  Yes,  much nicer with the shorter arms!


21 November 2012

Felt Acorns

I have been seeing these around the web lately and wanted to try some myself. 


I had a wee bit of a learning curve but finally figured it out!

I bought my wool roving in little bags from Hobby Lobby.  The bags are really tiny so I thought I would need alot of them since I had never done this before.  Wrong!!  Just one color from the bag makes a huge amount of felt balls to use for making acorns.  I way over bought!


First set up a small bowl with dish soap and HOT water.  Then tear off a small section of the wool.


Dip the wool into the hot water, remove and start gently rolling it into a ball in the palm of your hands.  Drop it into the water again and pull out and continue to roll it between your palms.  The wool will slowly start to form a tight ball and you can apply a little more pressure once it has formed up.  Just roll and roll it until you have a nice tight ball.


NOTE:  This is NOT the size you need for acorns!  This was my first try and wayyy over judged the size of wool I needed.

Make sure you keep the water HOT while you are rolling the wool.  (Obviously don't scald yourself!)

No matter how much I rolled the wool I always had a  crack.  To easily fix this I would just take a few more fibers, dunk in the water, place over the crack and continue rolling in my palms.

If you think your acorn might be too small for the cap, just grab a few more fibers and dunk them in the water and wrap around your ball.  Then dunk the whole ball in water and continue rolling until you are happy with the size.

Once I had a nice tight wool ball I would then place it under running water, while still rolling it between my palms to get  rid of some of the dish soap.  Very gently squeeze some water from the wool ball and then place on a towel to dry completely.  Dry at least 24 hours.


I gathered some acorns and removed the tops.  I wanted a pop of color so I spray painted the tops a Bahama Blue.

Once everything is dry, use a glue gun to attach the wool ball to the acorn top.


There are different ways to felt with wool but this system worked best for me.

Next year I might use turquoise wool roving and keep the acorn tops natural.  I'm also going to try  red wool roving and natural tops for Christmas time!


These would look great around napkins,  collected in a bowl or maybe attach some fine thread and hang from something!

Linked with Skip to my Lou, Made by You Monday.


16 November 2012

Felt Xmas Ornaments

I think I could decorate an entire tree with just my wool felt ornaments I have been making the past few years.  I love finding great patterns for felt ornaments.

Here are some of my favorites from a great pattern set from the talented Alicia from  Posie Gets Cozy


I love making these for my tree or giving out as gifts.  Always nice to give a little homemade gift to someone!
 
She sells these patterns in her shop.  5 different themes to pick from, and you get 3 different ornaments per set.
 
To get the fine details onto the felt, I always use tissue paper.  I trace the design onto tissue paper, secure to my felt and just stitch thru the tissue paper.  Once I'm done stitching, I carefully rip away the tissue.


I love this polar bear.  He even has a spark-ely bum!  She gives instructions on how to crochet a little scarf for him, but above my skill level.  So my bear just gets a wool felt scarf!


Just love this coat!  The coat even has details on the back.


The marshmallow even has it's own stuffing.


I need to make the ice skate next.  Click on over and check out all her super detailed patterns.


Each pattern set is $7. and can be found here.

11 October 2012

Felt Pumpkin Pie

Oh how I love pumpkin pie!
I just whipped up a felt slice of pumpkin pie with a dollop of whipped cream on top!
Click on over to Sew Mama Sew for the pdf pattern and instructions on how to make your own slice!
I like to decorate my dessert table with a couple slices.


Now I need to go make the real thing!  Love this time of year.

09 September 2012

Onesie Applique

Here is an easy peasy project.  I have more baby showers this week.  So I thought this idea would be cute.  I appliqued the state of the baby's birth onto a onesie.  I also ironed on a star to represent the birth city.


I cut out the state I wanted from a U.S. road map.  Cut a piece of fabric a little larger than the state.


Iron on a piece of Heat n Bond to the back side of the fabric.
I put my state face down on the heat bond and traced around with a pencil.


Cut out state with fabric scissors, peel off heat n bond backing paper and iron on to a onesie.

Add a star for the city if you desire the same way you did the state.

Easy peasy!  A no-sew baby shower gift!


Have a great day!


04 September 2012

Simple Skirt

My new favorite thing to make K now.


Dana from MADE has got a great tutorial on this super simple skirt.  I love the added details with this skirt to truly make it look professional.


You can add an extra layer, add bias tape or just leave the hem plain.  She also had a great tutorial on how to make your own seam binding tape.


I used 1 yard for the pink one and 1 1/4 yards for the double layer skirt. 

So far I have made 7 of them! 


Head on over to MADE and see how easy-peasy this skirt is to make.  No pattern necessary!