This shadow box is now my favorite Christmas decor item! I stumbled across a tutorial and just knew I needed it in my home.
I did a few things differently, which I will explain below.


I used a IKEA Ribba shadow box frame because I wanted to keep the glass as protection.
I also used Pearl heavy card stock from Hobby Lobby for all parts.
I used one string of clear wire fairy lights.
I used my cold temperature glue gun to mount lights and wooden plugs.
I used my Silhouette to cut out the words "JOY".
Once I removed the frame backing I drilled a very small hole to feed in fairy lights.

Glued down along the light strip. Since it is wire, it holds it's shape pretty well. So not necessary to go crazy with the glue gun.

Glued down 1/2" wooden plugs. (Ended up removing upper left 2 plugs because they showed through the card stock too much for my liking once I turned on the lights.)

Once I cut everything out, I played around with placement and took a photo for reference later on as I adhered it all in place. My design ended up changing slightly. I also made it little bit larger than I would need so I could have wiggle room in my placement.

If you are using the shadow box frame you have to take into account the interior frame and make your winter wonderland scene just inside that measurement. You can not use the entire frame backing as your guide (the part where I glued down the lights). The removable interior frame is what keeps the glass front in place and gives it the showdown box effect for your 3D object.
Just remove the frame insert and use the interior of the square for your measurements for your scene, so it will fit perfectly once all put back together again.
Here you can just see see the frame backing peeking around the edges of my scene.
I wanted the glass to protect my scene so if you are using a tray like in the original tutorial don't worry about this part.
My base layer of card stock ended up being 8-9/16th square. I do have a seam but is hidden with trees and rolling hills.
The reason for the seam is due to my Big Shot only being about 6 inches wide and I had to punch in the night sky across the whole top portion of the paper.
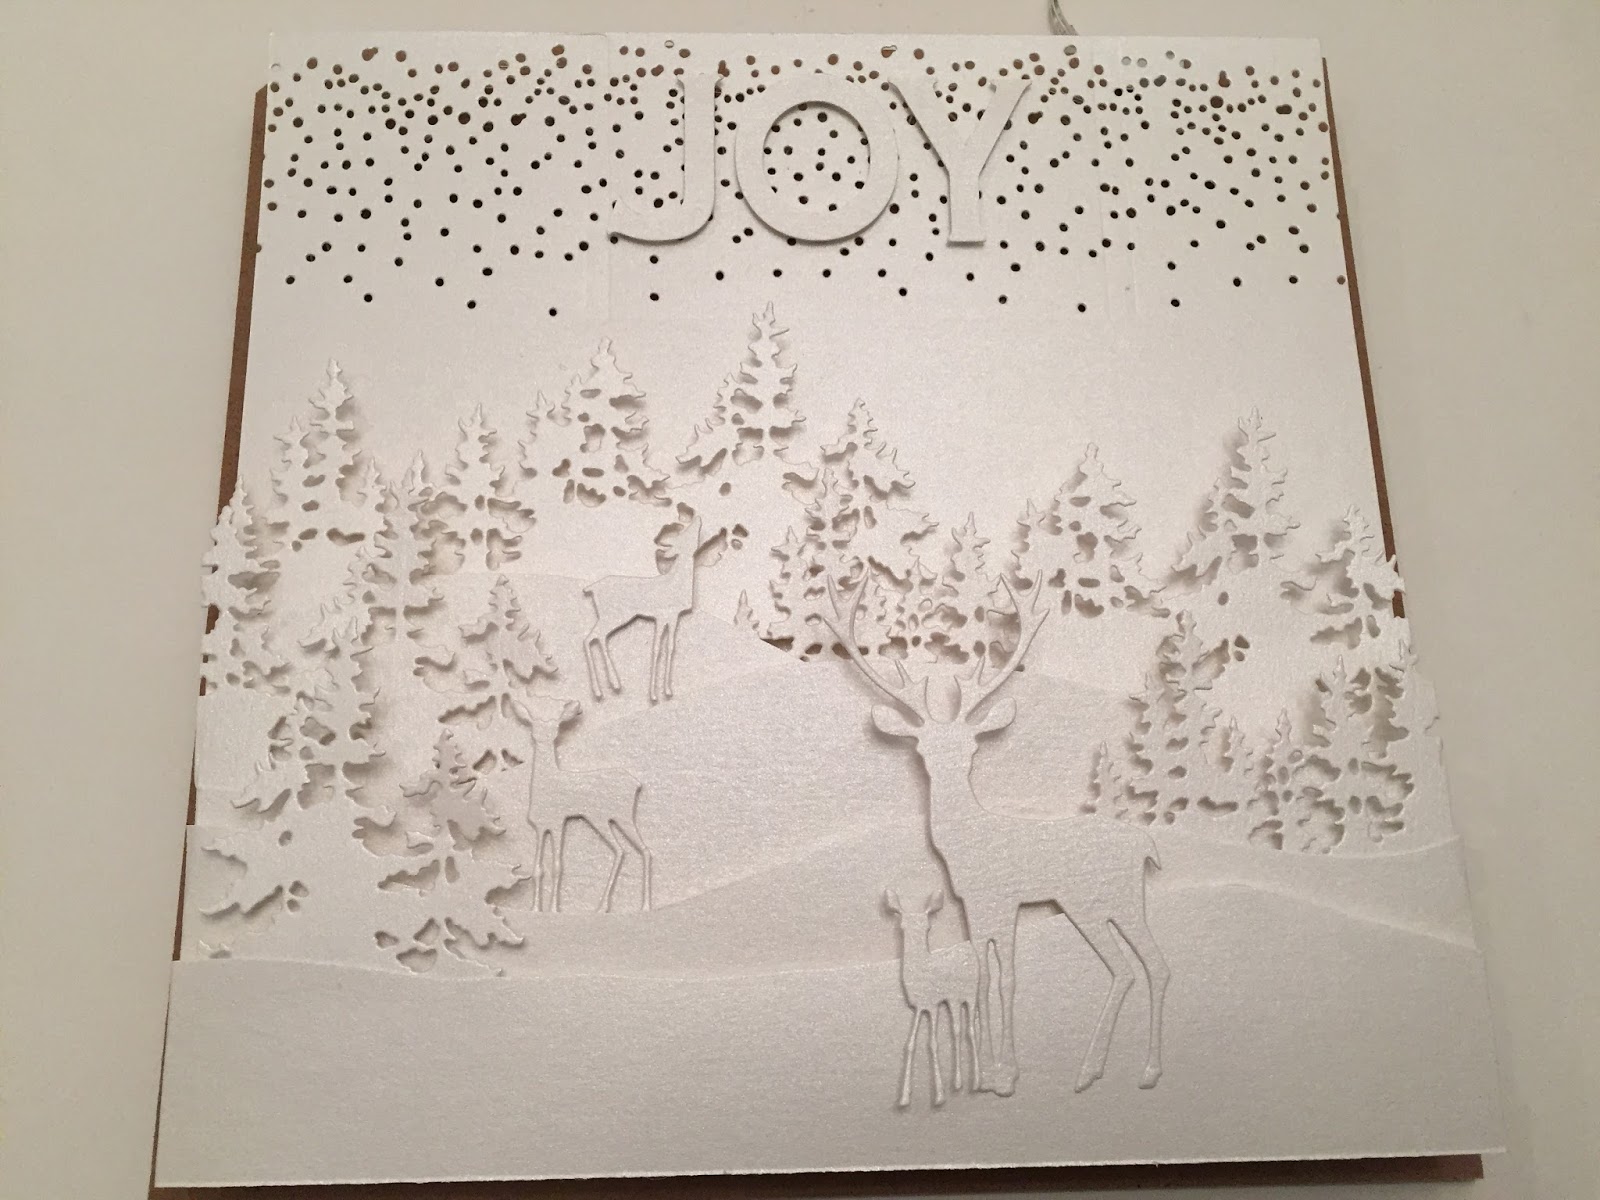
The pearl card stock is so pretty and shimmery.

Also used a LOT of foam tape and foam dimensions for each layer.

Another scene ready to mount inside of a box frame:


Here is the original tutorial.
Here is link for tree dies.
The night sky with 4 deer can be purchased from a few vendors. Called "Winter Wonderland Thinlits set".